How to draw a lobster . Step by step Drawing Lesson for kids.
In this drawing lesson we’ll show you how to draw a Lobster in 8 easy steps. This Free step by step lesson progressively builds upon each previous step until you get to the final rendering of the Lobster.
This is a simple lesson designed for beginners and kids with real easy to follow steps. Feel free to print this page and use as a drawing tutorial.
Here are some fun facts about the Lobster you might find interesting.
It is classified as a crustacean. There are generally three species of lobster. (American lobster, European lobster and Norway lobster) A fh1ale Lobster lays many thousands of eggs, usually once every two years. Lobsters are primarily scavengers. Lobsters have five pairs of appendages on the thorax.Step 1: Draw the main body of the Lobster.

Step 2: Draw the antennae of the Lobster.

Step 3: Add the rear fin section.

Step 4: Add the beginning section of the legs.
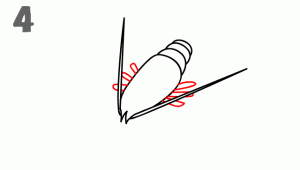
Step 5: Add more to the tail section, add the beginning of the front claws.
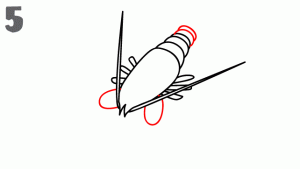
Step 6: Finish the tail section and draw the outline of the claws.
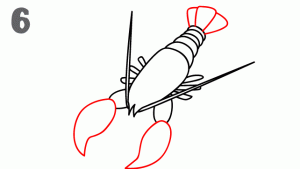
Step 7: Add more detail to the tail section, then add the final touches to the legs.
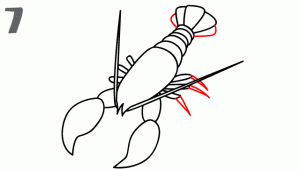
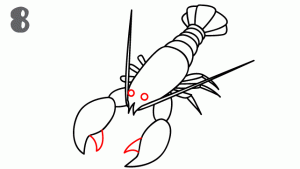
Step 8: Finish the claws and add the eyes to complete this drawing of the Lobster.
Watch this 2:43 second video to see another example of how you can draw a Lobster.