How To Draw a Bat. Step by step Drawing Lesson for kids.
In this drawing lesson we’ll show you how to draw a Bat in 6 easy steps. This step by step lesson progressively builds upon each previous step until you get to the final rendering of the Bat.
Here are some interesting facts about the N American Bat you might find interesting.
The forelimbs of bats are webbed and developed as wings, thus making thh1 the only mammals that can fly. There are about 1,100 bat species worldwide. About seventy percent of bats are insectivores, however some are frugivores, or fruit eaters. Bats range in size from Kitti’s Hog-nosed Bat measuring 29–33 mm in length and 2 grams in mass, to the Giant Golden-crowned Flying-fox, which has a wing span of 1.5 m and weighs approximately 1.2 kiolgrams. Bats are also sometimes called ‘flying rodents’ or ‘flying rats’.To start drawing the Bat you’ll want to print this page or following the next 6 steps in sequence.
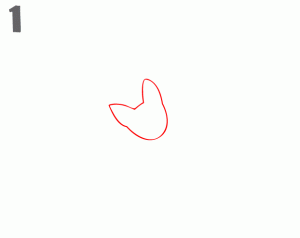
Step 1: Begin by drawing the outline of the Bats head.
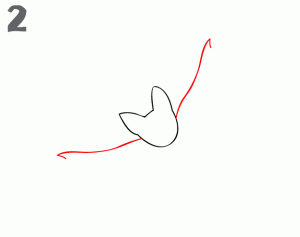
Step 2: Draw the upper portion of the Wings on each side of the body.
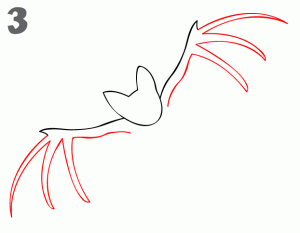
Step 3: Add the details to the Bats wings.
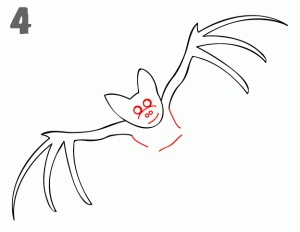
Step 4: Add the details to the face and finish the Bats lower body.
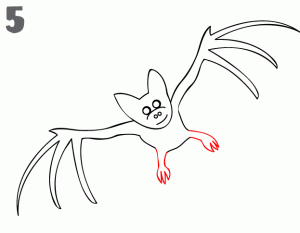
Step 5: Sketch in the legs and feet to the body.
Step 6: Complete the lower webbing to the Bats wings and you’re finished.
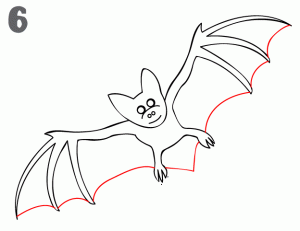
Here’s what your Bat should look like after you’ve followed each Step:

Use this Shaded version of the Bat as an Example of how to give it a Realistic Look.

Here’s a cool video on how to draw a Cartoon Bat:
Get more lessons on Drawing Bats and over 100 other animals in different styles from our Drawing Animals Books Collection.