How to draw a flamingo. Step by step Drawing Lesson for kids.
In this drawing lesson we’ll show you how to draw a Flamingo in 7 easy steps. This Free step by step lesson progressively builds upon each previous step until you get to the final rendering of the Flamingo.
This is a simple lesson designed for beginners and kids with real easy to follow steps. Feel free to print this page and use as a drawing tutorial.
Here are some interesting facts about the Flamingo you might find interesting.
There are six recognised species of Flamingos. Flamingos often stand on one leg, the other tucked beneath the body. Flamingos produce a “milk” like pigeon milk due to the action of a hormone called prolactin. Both parents nurse their chicks for about two months. Flamingos often stamp their webbed feet in the mud to stir up food from the bottom.Step 1: Draw the beginning section of the top of the wing and back.

Step 2: Sketch the neck.

Step 3: Add the rear feathers and head detail.
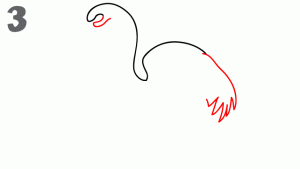
Step 4: Add the lower neck and underbelly to the body.
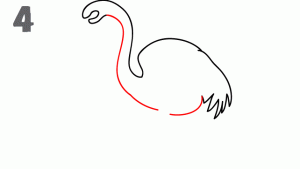
Step 5: Draw the beak, inner feather detail and add the legs outline.
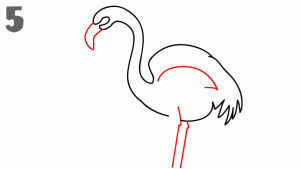
Step 6: Complete the legs and inner feather.
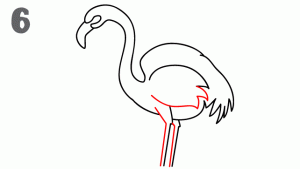
Step 7: Add the eys and facial details, complete by drawing some circles to represent the Flamingo standing in water.

Here’s a 2:27 minute video showing you how to sketch and fill in with a Sharpied Flamingo.