How to draw a hummingbird . Step by step Drawing Lesson for kids.
In this drawing lesson we’ll show you how to draw a Hummingbird in 8 easy steps. This Free step by step lesson progressively builds upon each previous step until you get to the final rendering of the Hummingbird.
This is a simple lesson designed for beginners and kids with real easy to follow steps. Feel free to print this page and use as a drawing tutorial.
Here are some fun facts about the Hummingbird you might find interesting.
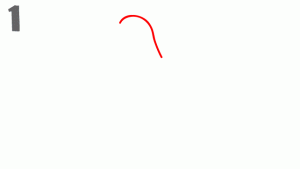
They are among the smallest of birds. They can hover in mid-air by rapidly flapping their wings 12–90 times per second. They can also fly backwards. They can fly at speeds exceeding 15 m/s. Hummingbirds drink nectar, a sweet liquid inside flowers.Step 1: Begin by drawing the back of the head.
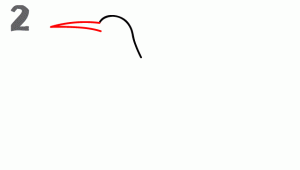
Step 2: Draw the beak.
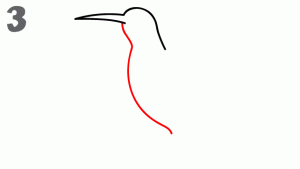
Step 3: Draw the lower body and neck.
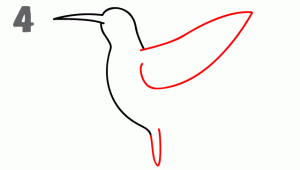
Step 4: Draw the first wing.
Step 5: Draw the lower feathers.
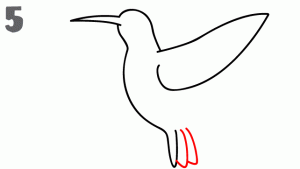
Step 6: Complete the lower feathers and add the wing details.
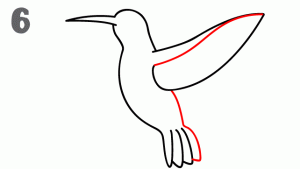
Step 7: Add more wing details.
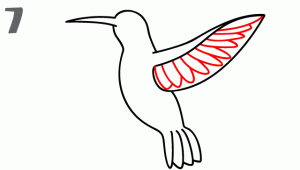
Step 8: Finish by adding the eyes and the beak details to complete the drawing of the Hummingbird.

This is a very short video on drawing a HummingBird, the process isn’t exactly clear but its worth a look to see what shapes are being used to draw the Hummingbird.