How to draw a mole . Step by step Drawing Lesson for kids.
In this drawing lesson we’ll show you how to draw a Mole in 8 easy steps. This Free step by step lesson progressively builds upon each previous step until you get to the final rendering of the Mole.
This is a simple lesson designed for beginners and kids with real easy to follow steps. Feel free to print this page and use as a drawing tutorial.
Here are some fun facts about the Mole you might find interesting.
A mammal characterized by a pointed snout, rudimentary eyes, short legs and soft thick velvety fur. The voracious animal digs below the surface of the ground to find food. Moles feed on earthworms and insect larvae. A typical mole is called garden mole which is 12-21 centimeters long (of which 2-4 centimeters is the tail) A Mole is an excellent swimmer.Step 1: Begin by drawing the upper part of the Moles head.

Step 2: Draw the upper part of the body.

Step 3: Draw the front left leg.

Step 4: Complete the front leg and add the rear leg.
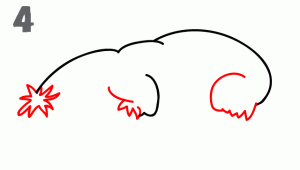
Step 5:
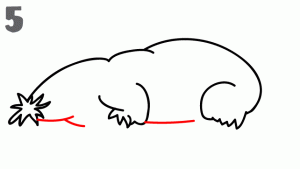
Step 6: Add the feet.
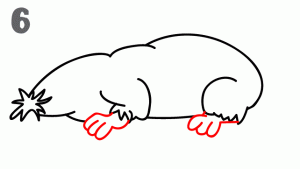
Step 7: Draw in the Tail.
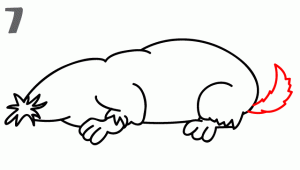
Step 8: Finish the drawing of the Mole by adding the eyes, ear and claws.
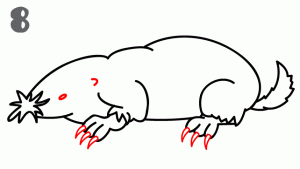
Your completed Mole drawing should look something like this:
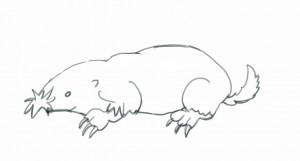
Here’s an example way to shade your drawing of the Mole:
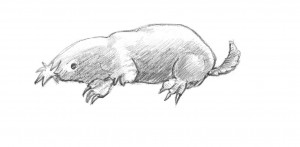
Here’s a 40 second video on drawing another version of the Mole. You may need to pause the video at each step to follow each step.