How to draw a monkey. Step by step Drawing Lesson for kids.
In this drawing tutorial we’ll show you how to draw a Monkey in 6 easy steps. This Free step by step lesson progressively builds upon each previous step until you get to the final rendering of the Monkey. This is a simple lesson designed for beginners and kids with real easy to follow steps. Feel free to print this page and use as a drawing tutorial. Here are some fun facts about the Monkey you might find educational. Monkey is a word used to describe any of the 160 species of primates that have grasping hands, forward facing eyes and highly developed brains. Most monkeys have tails (capable of grasping on branches), a characteristic that distinguishes thh1 from their larger primate cousins called apes. Monkeys are highly skilled climbers, and most spend much of their lives on trees. Monkeys dh1onstrate great intelligence for instance, they can store information about the different locations of different fruit trees and the time of the year when the fruits are ripe. Monkeys have fingers and toes which are very flexible and their palms and soles like those of humans are hairless.
The following 6 steps will show you how to draw the Monkey.
Step 1: Begin by drawing the Head.

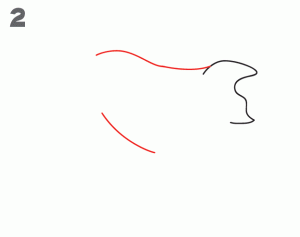
Step 2: Draw the back and lower stomach area.
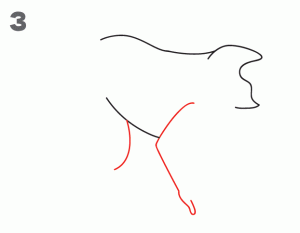
Step 3: Start to draw the beginning lines for the Arms and Legs.
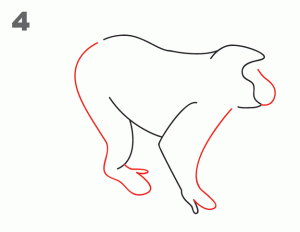
Step 4: Add details to the face, finish the rear area and complete the back leg.
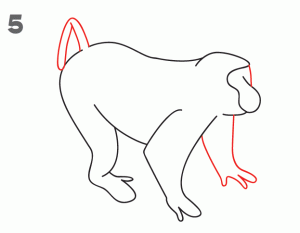
Step 5: Add the tail and front arm.
Step 6: Finalize the drawing by adding the hands, feet and facial details to complete your drawing.
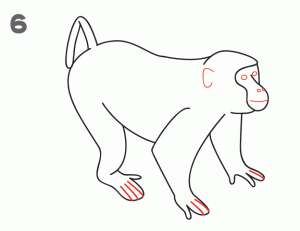
Here’s what your final drawing of the Monkey could look like.
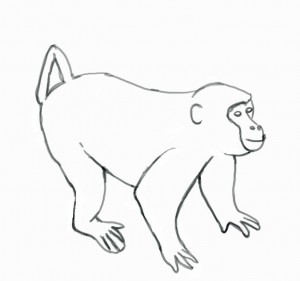
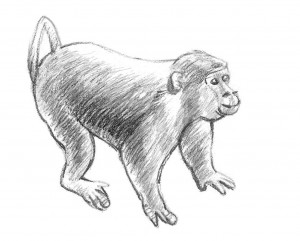
Use this as an example of how to shade the Monkey to give it a “life like” look.
Here’s a quick YouTube video showing you how to draw a simple Monkey clinging to a branch.