How To Draw a LadyBug. Step by step Drawing Lesson for kids.
In this drawing lesson we’ll show you how to draw a LadyBug in 6 easy steps. This Free step by step lesson progressively builds upon each previous step until you get to the final rendering of the LadyBug.
This is a simple lesson designed for beginners and kids with real easy to follow steps. Feel free to print this page and use as a drawing tutorial.
Here are some fun facts about the LadyBug you might find interesting.
A brightly coloured beetle found in th1perate and tropical regions throughout the world. Ladybug beetles are often red or orange above, spotted with black, white, or yellow. Ladybugs feed on other insects which usually destroy crops such as aphids. Very few ladybugs are injurious to humans. A Ladybird as it is also called is less than 1.2 cm (less than 0.5 inches).Step 1: Draw a circle to represent the main body of the Ladybug.

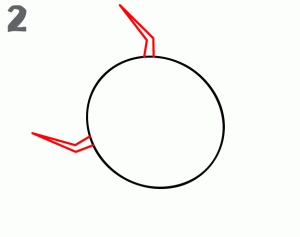
Step 2: Draw the first of the legs.
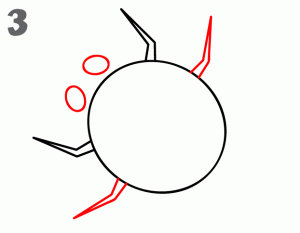
Step 3: Draw the second set of legs and the beginning of the eyes.
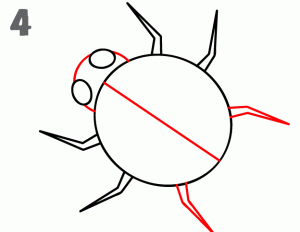
Step 4: Finish the head, add some body detail and the 3rd set of legs.
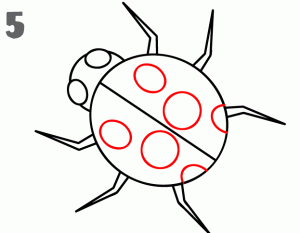
Step 5: Add the body spots.
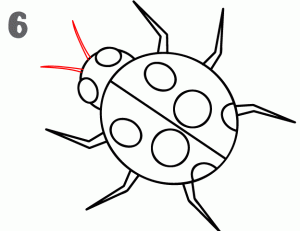
Step 6: Add the antennae to complete the drawing of the Ladybug.
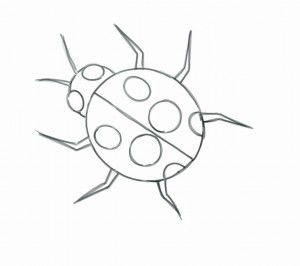
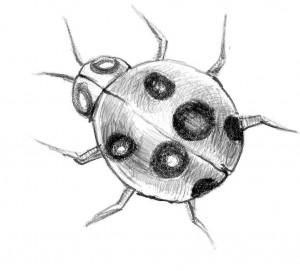
Here’s a quick video showing you how to draw another version of a Ladybug.